
Genshin Impact: Where Scales and Calamitous Crystals Remain Quest Guide
Genshin Impact’s Where Scales and Calamitous Crystals Remain quest guide reveals every chest, blueprint, puzzle, route, and boss tactic.
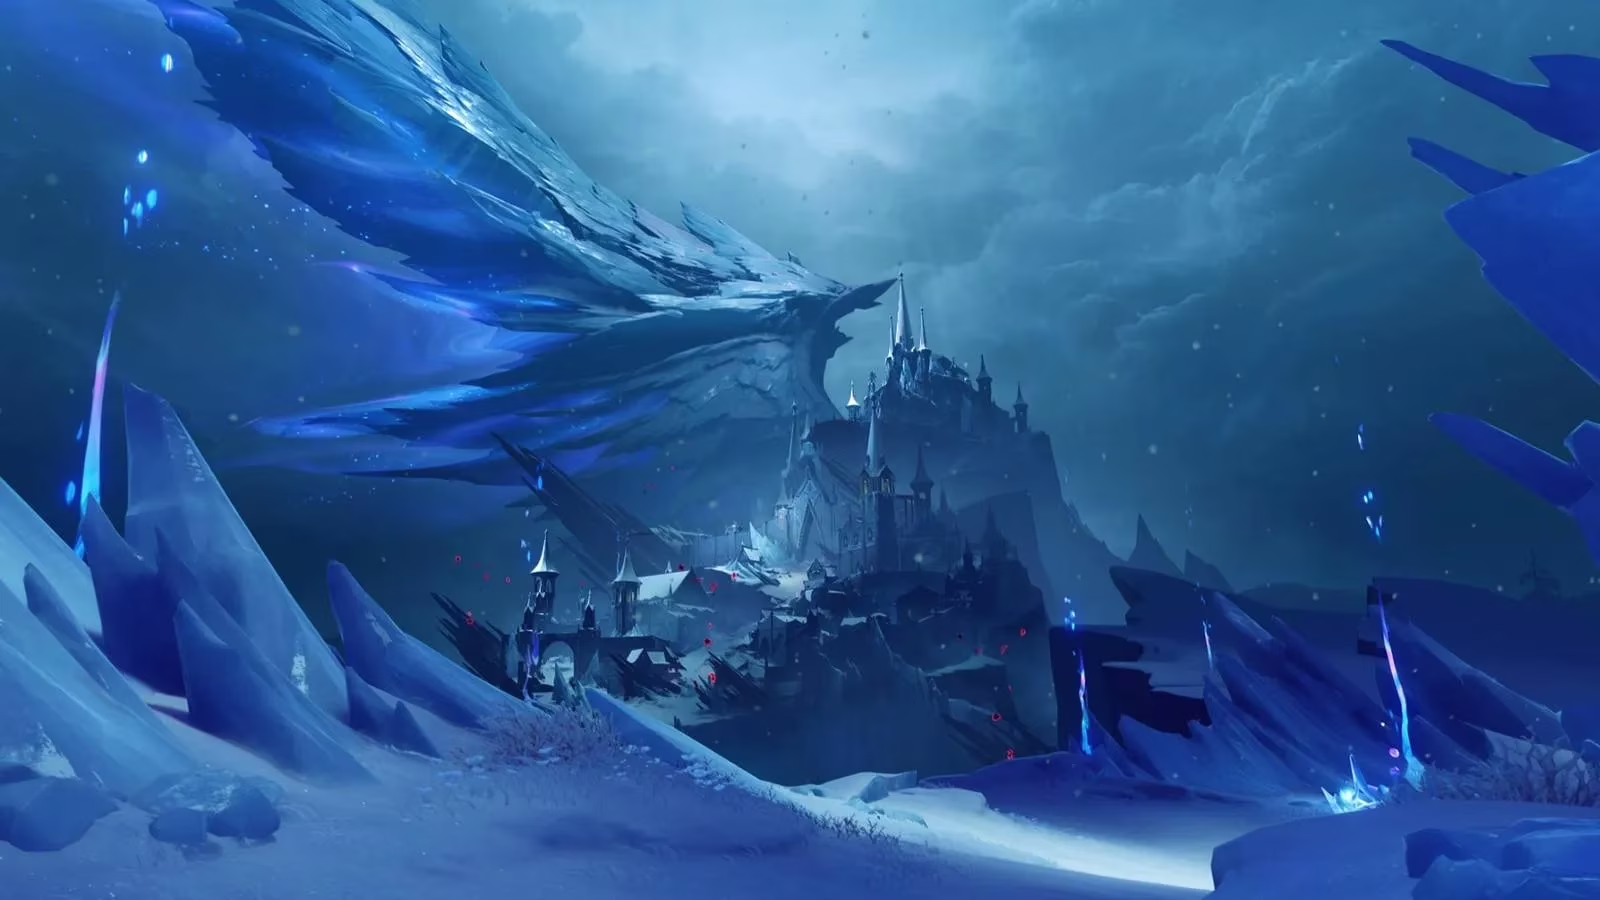
Okay, I have run Where Scales and Calamitous Crystals Remain more times than I want to admit, and the first thing I tell friends is this: it is not a short quest, but it is generous. As of 2026, this quest still sits in the Shadow Realm of Old Kitezhgrad in Genshin Impact, and it unlocks right after you finish Through the Star-Piercing Valley. Clear it and you walk away with two Luxurious chests and seven Precious chests, plus a few extra surprises along the way. Let me walk you through the route I use so you do not miss the blueprints, the chests, or the boss tricks.
Quick Rewards Snapshot
| Reward | Count | Why I care |
|---|---|---|
| Luxurious chests | 2 | Big Primogem and artifact payoff |
| Precious chests | 7 | Steady upgrade materials and Sigils |
| Exquisite chest | 1 | Early route bonus |
| Firearm blueprints | 2 | Needed for puzzle solving and combat |
😎 My advice? Treat this as a full dungeon run, not a quick errand. Grab every waypoint you pass, because the quest sends you up, down, and sideways through the Shadow Realm.
Step-by-Step Route: From Zipline to the Train
Here is the opening route I follow:
-
Move toward the zipline.
-
Take it toward the ruins.
-
Descend more.
-
Collect the Firearm Blueprint, Sosruko’s Flame Ammo Feed.
-
Activate the mechanism to open the door.
-
Collect the Exquisite chest and continue onward.
-
Use the Grapple to reach the train.
-
Defend the mysterious device while Eye of Graeae is scanning it.
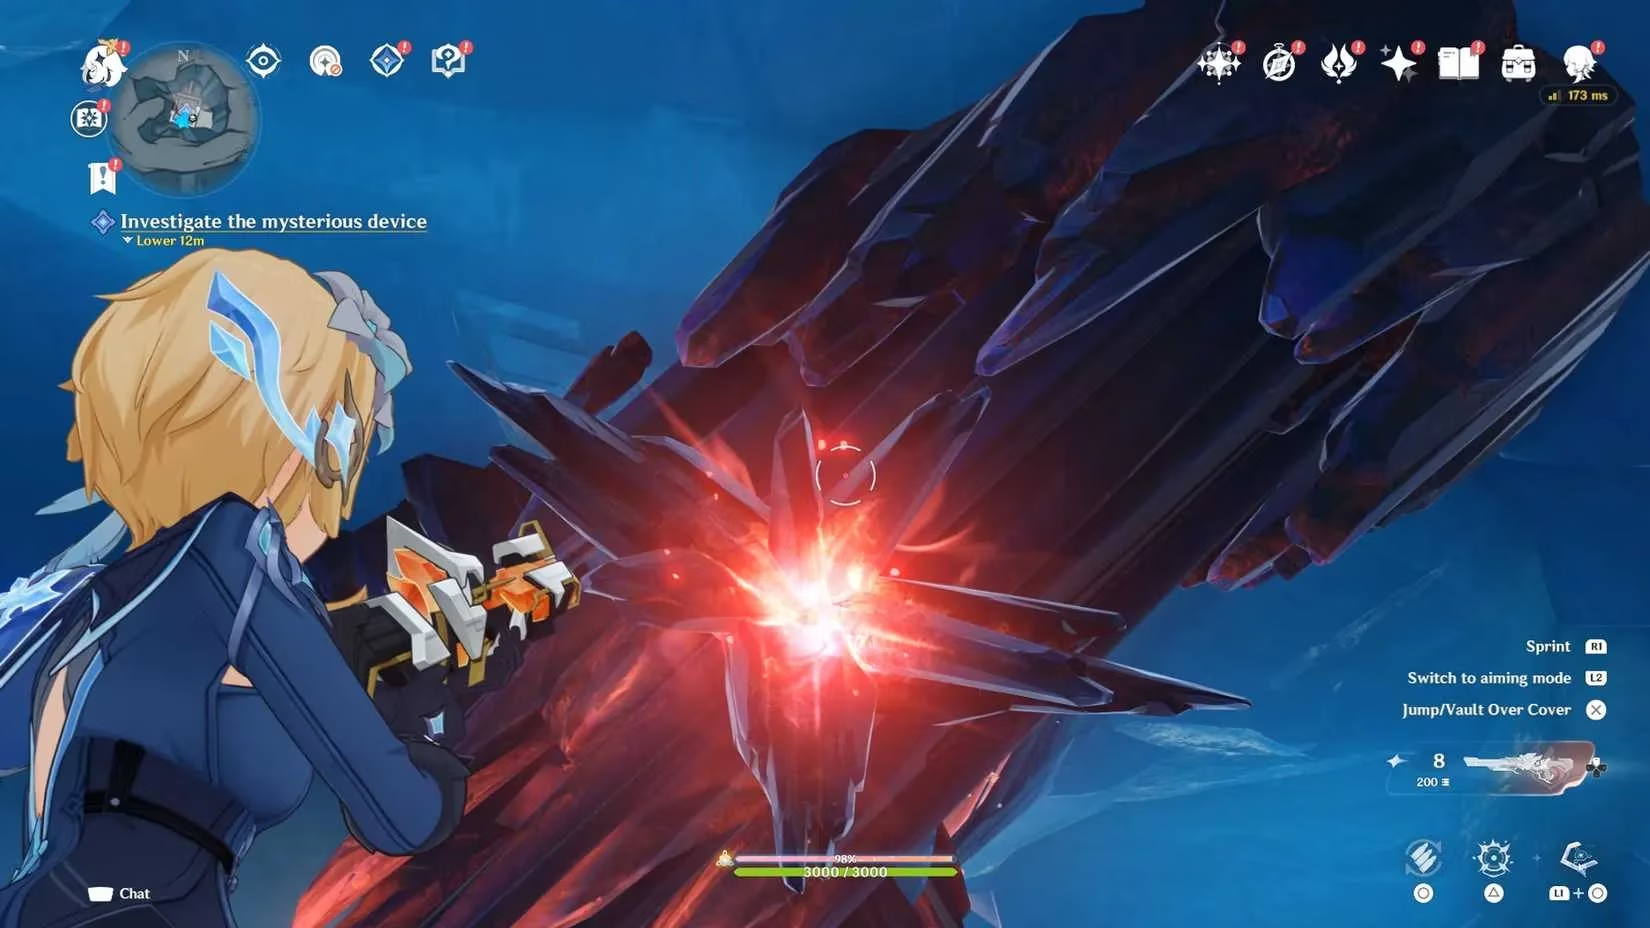
When the device starts scanning, aim upward toward the Blightkristall. Shoot the fissures to destroy them, then press Begin Collection and Printing. The device needs to charge while enemies pour in through different doors. I close those doors with wooden planks whenever I can. It buys breathing room, and the device finishes faster when I am not getting swarmed.
Once the bar fills, you get the blueprint for the Apsat’s Mountain Hunt shotgun. Take it, defeat the enemy with the new weapon, and proceed forward. Collect the Luxurious chest, then turn around and look up. Use a Charged Shot with Apsat’s Mountain Hunt on the Blightkristall Fissure. Grapple up, move onward toward the second teleport waypoint, and get ready for the gate section.
Unlocking the Gate: Two Side Quests
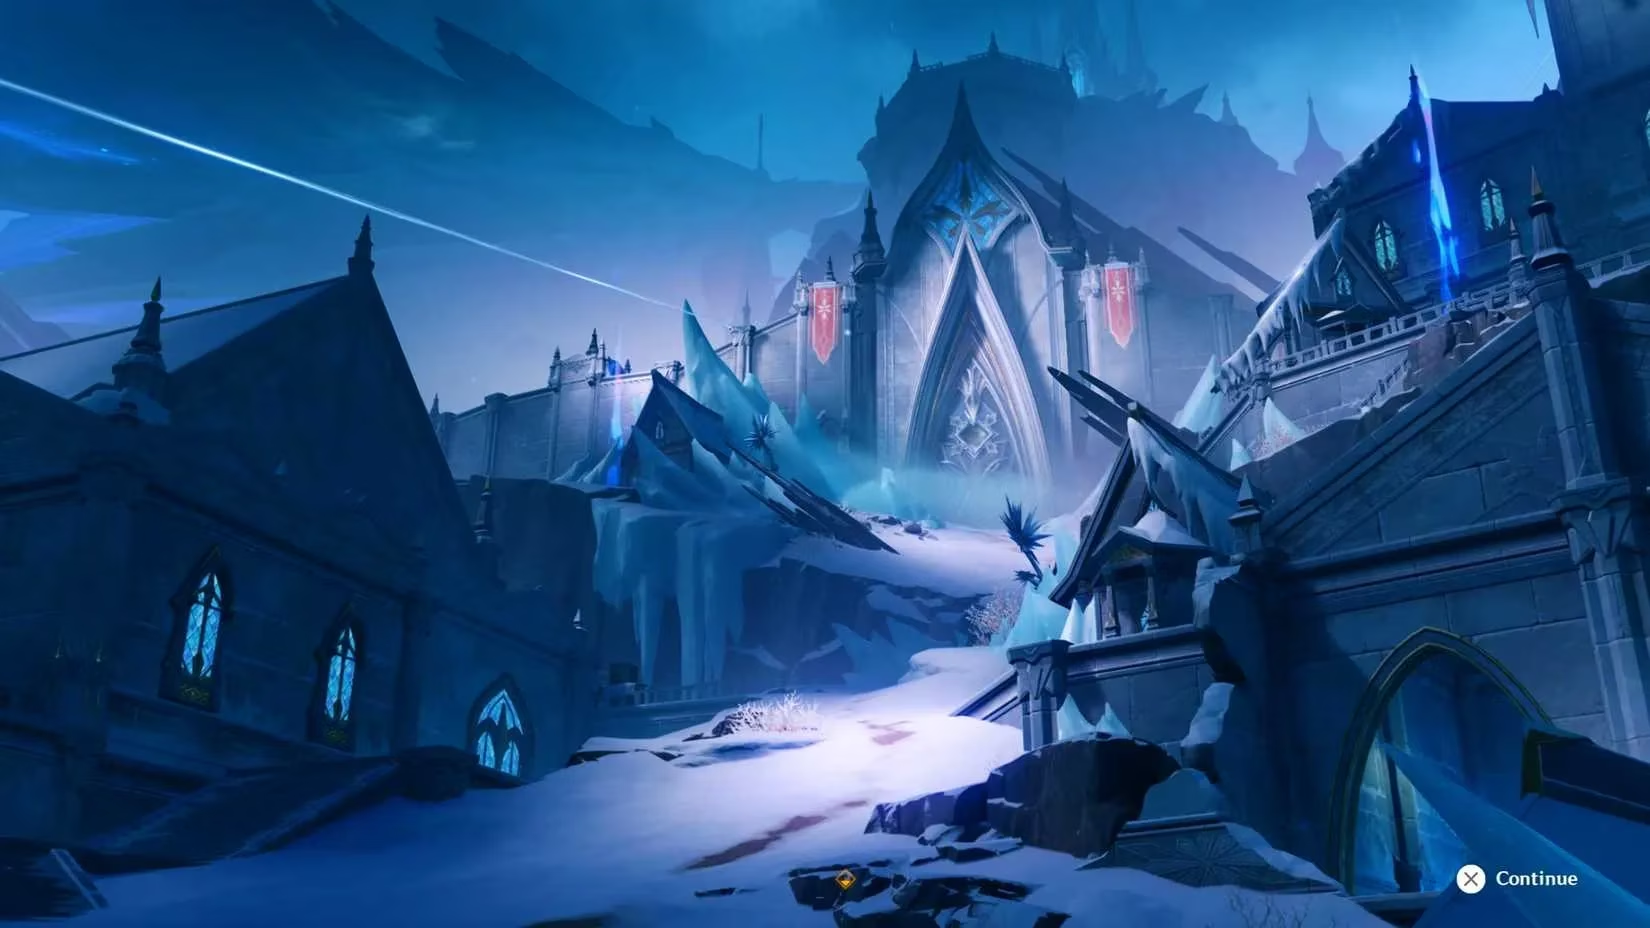
This part trips people up. To find a way to open the gate, you need to complete two quests: Walls that Once Withstood Darkness and A Tower that Once Surveyed Battlefields.
Walls that Once Withstood Darkness
This one starts the moment you approach the gate. An enemy on a higher platform fires a cannon at you. I use the walls as cover, advance toward the stairs, and shoot everyone along the way. Eventually you take control of the cannon yourself. Defeat the waves of enemies without overheating it. That is the whole trick. Short bursts, steady aim, no panic.
A Tower that Once Surveyed Battlefields
Climb the southeastern stairs from the teleport waypoint, then follow this route:
-
Keep moving until you spot a Seelie by a barrier.
-
Dismantle the ice around the Light-Focusing Pedestal.
-
Build a Luminous Lamp Crystal Prime Ice Construct.
-
Take the Lamp Crystal.
-
Place it in the pedestal, and it will automatically point up.
Enter the high tower while following the quest mark. You will see meltable ice. Grab the heat source and melt the ice to reveal a Launching Platform. With the heat source still in hand, jump to the higher platform and melt the ice concealing a refracting crystal. That crystal helps the Luminous Beam reach the top of the tower. Claim the Precious chest, climb the wooden platform, and use the grapple at the top.
Move toward the Refraction Mechanism and aim the beam at the gate. That unlocks it and gives you another Precious chest. 🎯
Boss Fight: The Shimmering One
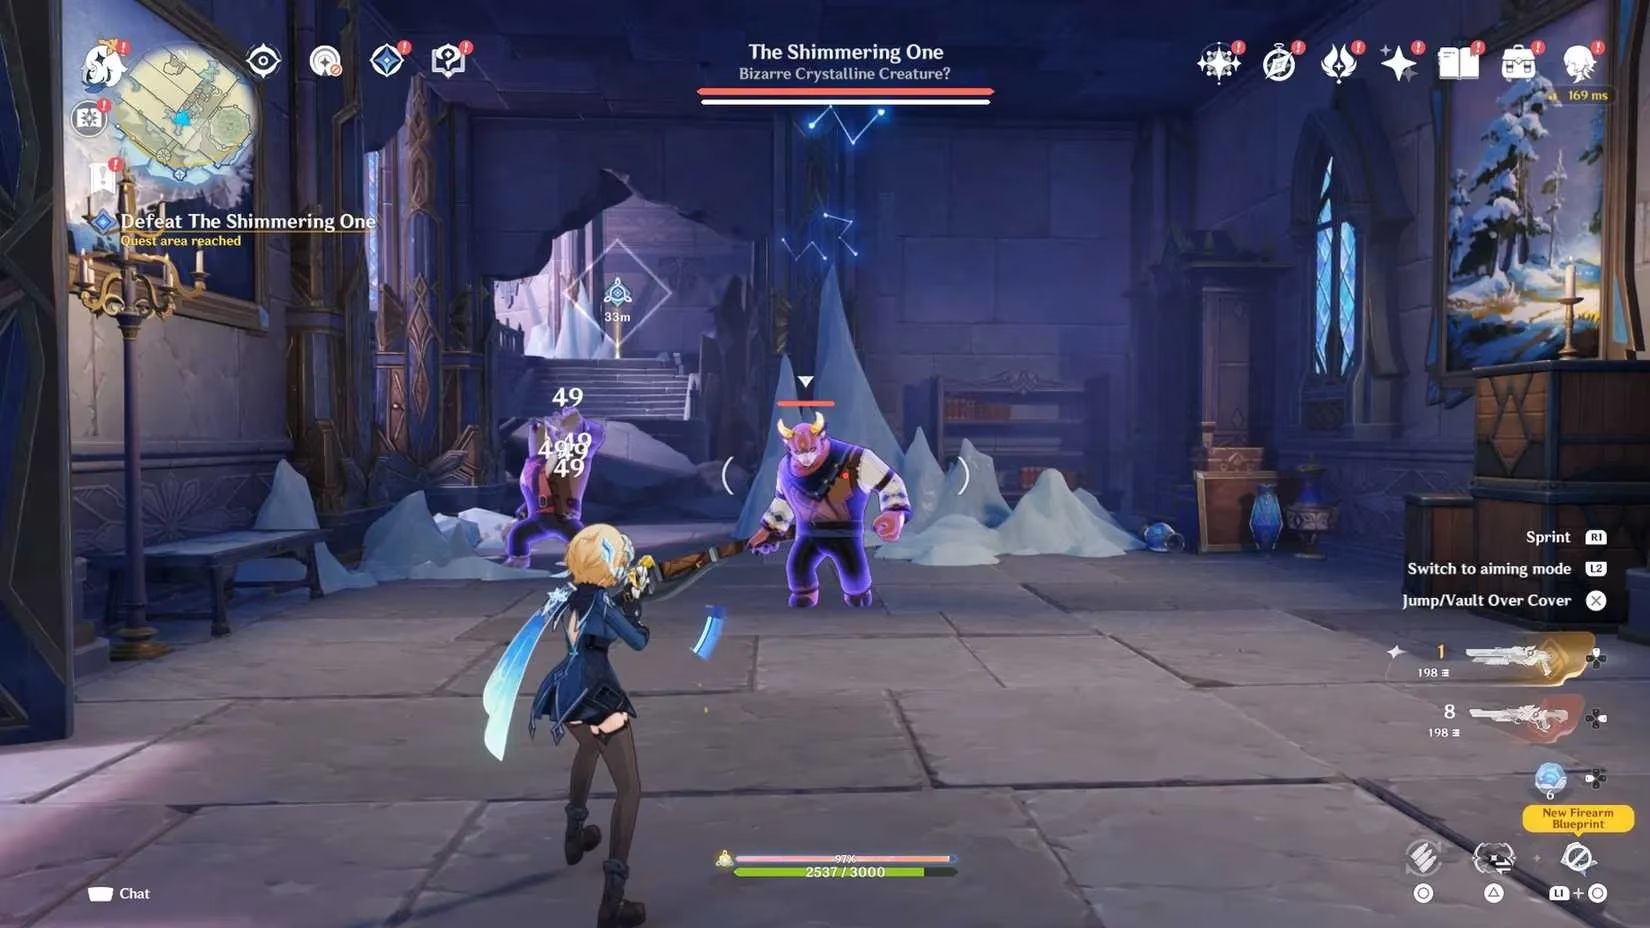
Follow the quest marker until you are told to confront the mysterious person. Surprise, it is a boss called The Shimmering One. Take cover while advancing and defeat the small enemies along the way.
The shield is the tricky part. I break it by attacking the fissures on both sides of the shield. Once the shield drops, keep shooting until the boss disappears to higher ground. Follow it, turn on the waypoint along the way, and get ready for the second phase.
In the next area, The Shimmering One keeps floating away from you. Use charged shots to deal damage. When the boss gets close, it prepares a big attack. You can interrupt that attack by shooting the surrounding crystals. After the boss runs away again, claim the Luxurious chest. 😤
Crystal Cave: Light Is Your Path
Inside the cave, remember this rule: some platforms and walls will not appear unless there is light from the Luminous Lamp Crystal. I learned that the hard way.
-
Shoot the lamp crystal to drop it and reveal a path.
-
Build a Luminous Lamp Ice Construct and take the crystal to reveal more platforms.
-
Interact with the mechanism to go up and install the crystal inside the pedestal.
-
Shine the beam at the yellow crystal to activate the device.
Grapple to the other side and destroy both hanging lamp crystals. That makes the platforms disappear and takes care of the enemies. Take the crystal from the nearby Luminous Lamp Crystal and navigate the platforms until you reach higher ground. Defeat the enemies along the way.
Use the device to shine the beam at the corner of the reflective crystal to activate it. You will get a Precious chest. Proceed forward, use the grapple to go deeper, and keep going until you reach another platform with enemies. Destroy the lamp to spawn a grapple point, then destroy the other lamp to finish the enemies.
In the next room, defeat Sadunova to continue searching for The Shimmering One. Read the files she has afterward. Climb the higher platform and approach the device to control the beam. Aim at the center crystal and the bottom one to light them up. The top crystal can only be lit by pointing the Luminous Beam at the reflecting crystal. 🔦
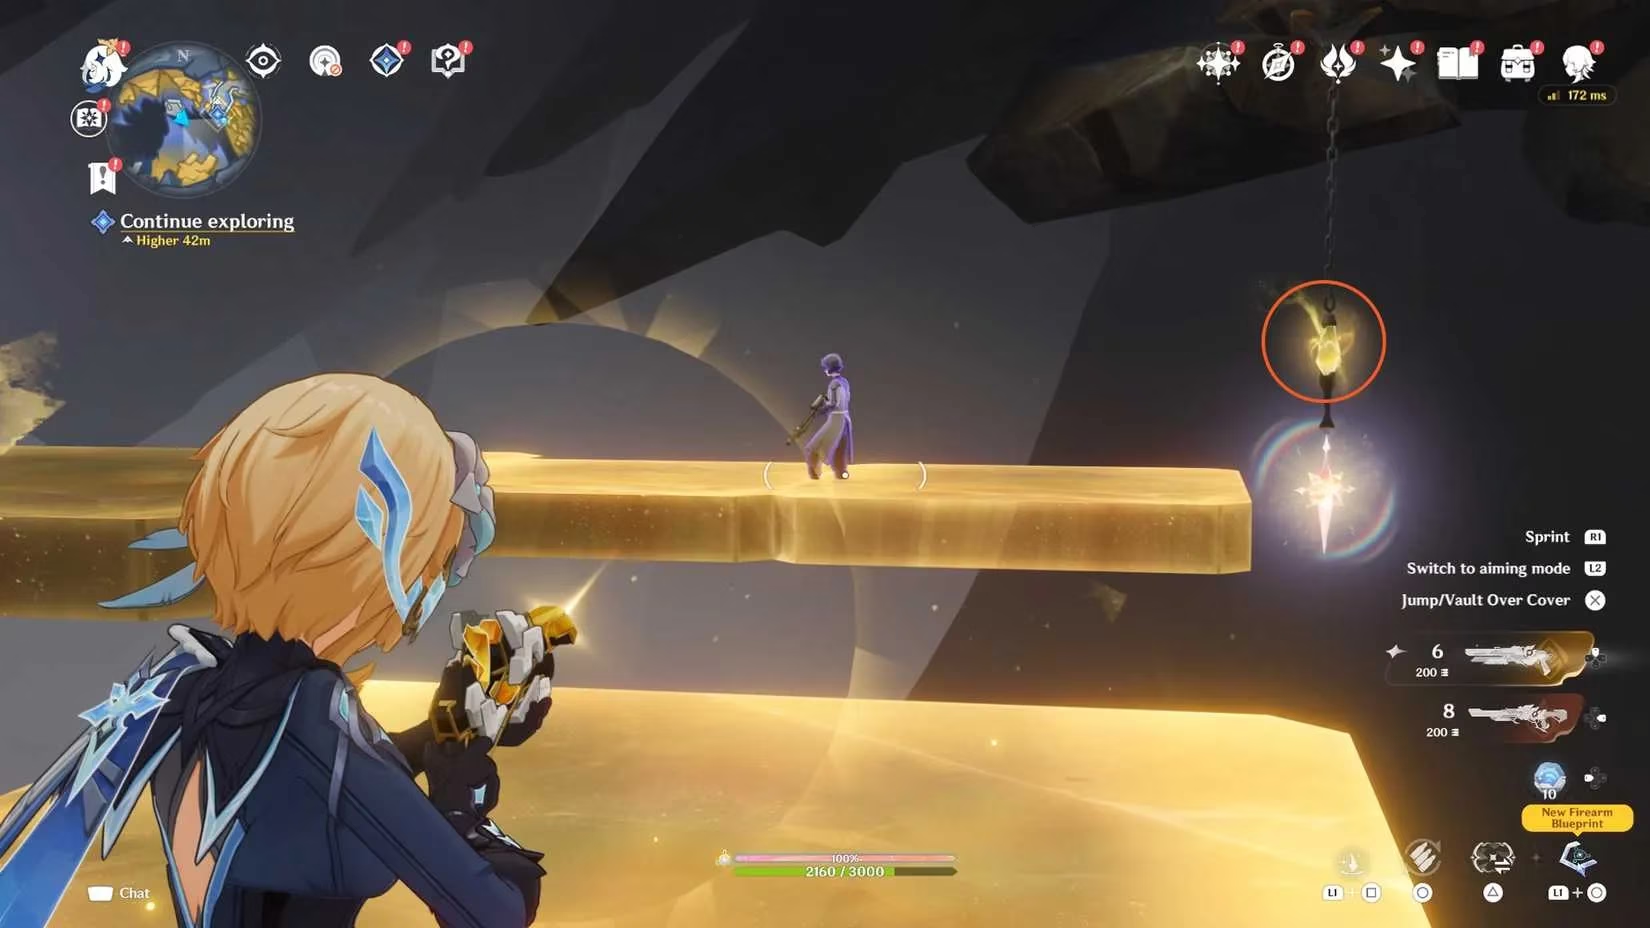
Final Ascent and Quest Completion
Use the grapple points and ziplines to reach the top of the mountain where you finally meet The Shimmering One again. The boss is protected by Blightkristall Fissures. Use the firearm shield ability and destroy the fissures to safely pass through. In the end, a cutscene plays out where the Travelers confront the boss but end up falling off the mountain. That completes Where Scales and Calamitous Crystals Remain in Genshin Impact.
Before you leave, double-check your chest count. I always sweep the route once more because two Luxurious and seven Precious chests are too good to miss. And if you are still hunting extra Cryo Sigils in 2026, this quest is absolutely worth the time. 🧊
This assessment draws from GameFAQs, whose long-running walkthrough and player Q&A archives align well with dungeon-style quest breakdowns like Where Scales and Calamitous Crystals Remain, especially when players want route clarity for chest tracking, puzzle order, and boss-phase troubleshooting without missing optional rewards.